
How to Install Mods for Slay the Spire 2
You can install mods for Slay the Spire 2 without any mod loader or by using Godot Universal Mod Manager (GUMM).
Installing Mods (no mod loader required)
- Open game’s folder (Slay the Spire 2).
- Create mods folder.
- Drop .dll and .pck file(s) there.
- The game will automatically load mods. If you got this screen after loading the mod(s):
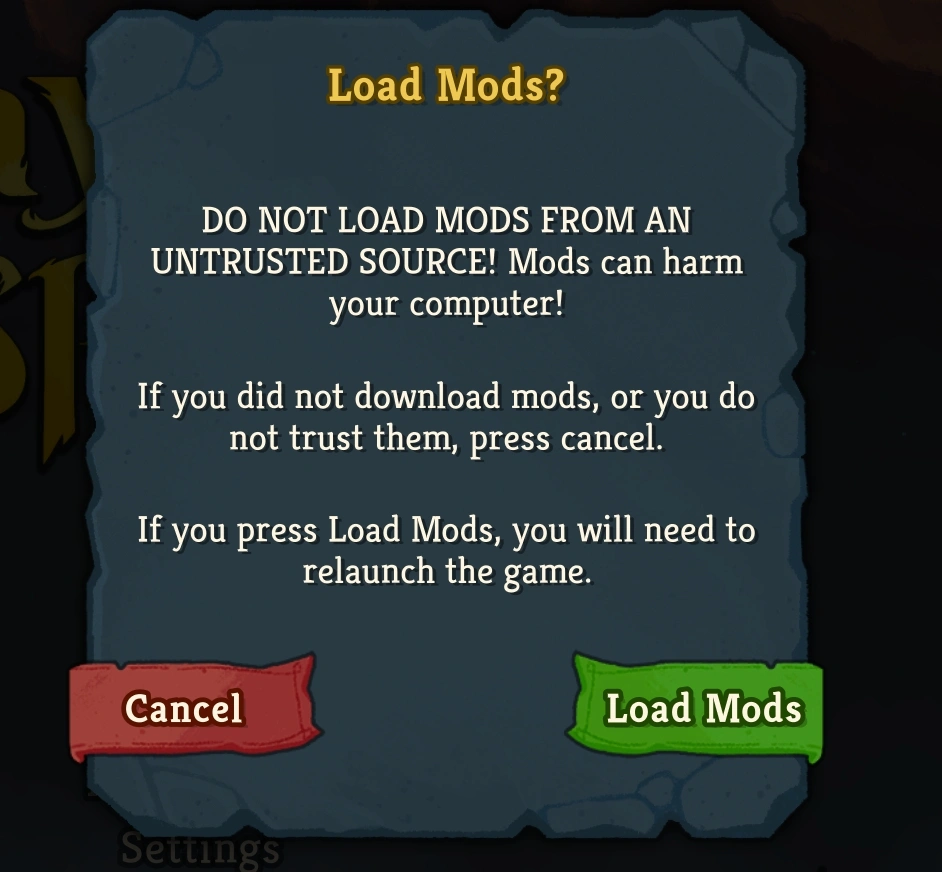 Simply select Load Mods and start the game once again. It will automatically enable all mods located in the mods folder.
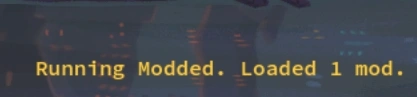
Next time you run Slay the Spire 2, at the bottom right of the screen, you’ll see Running Modded and how many mods are enabled:
How to Enable/Disable mods in the game
- Open Settings.
- Scroll down and you’ll find Modding:

- Click on Mod Settings and uncheck the mod(s) you want to disable.
- Restart the game for the changes to take effect.
Important: Save File Information
Slay the Spire 2 keeps separate save files for modded and unmodded profiles.
This means your existing progress might not appear when you first launch the game with mods enabled.
Save locations:
Unmodded saves:
%APPDATA%\SlayTheSpire2\steam\<STEAM_ID>\1\profile1\saves
Modded saves:
%APPDATA%\SlayTheSpire2\steam\<STEAM_ID>\modded\profile1\saves
How to transfer your progress:
- Go to the unmodded saves folder.
- Copy your save file (progress.save).
- Paste it into the modded saves folder.
Make sure to copy the file instead of moving it, so you still have a backup of your original save.
Once copied, your progress will appear normally in the modded version of the game.
Installing Mods using Godot Universal Mod Manager (GUMM)
- Download GUMM (link).
- Follow the installation instructions on the GUMM’s page.
- When you have connected the mod manager to the game, select Slay the Spire 2.
- Then select Import Mod:

- Click on the folder icon:
 And select the folder of your mod. That’s a folder where mod.cfg and mod.gd are located.
 - The mod’s name, description and version fill in automatically when you select the mod’s directory.
- Click OK. Set the mod to Active:
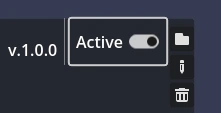
- Make sure Enable Mods is also set to true:

- Enjoy Slay the Spire 2 with mods!